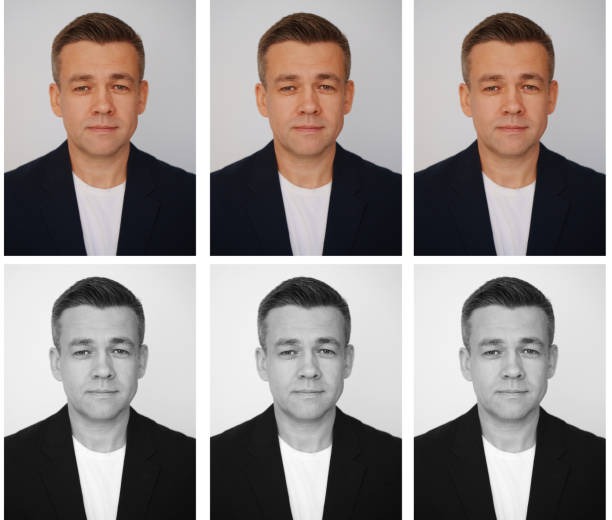

A passport photograph may look like a simple portrait, but its dimensions can be surprisingly important. A photo with the wrong proportions or poor digital settings can create unnecessary delays during an application. Understanding the correct passport photo size in inches gives you a reliable starting point when preparing a printed photograph.
Digital applications add another layer to the process because image dimensions are also measured in pixels. The correct passport photo size in pixels depends on the specific submission requirements. Knowing how inches, pixels, and resolution relate to each other makes it easier to resize an image without damaging its quality or proportions.
Start With the Official Requirements
The first step in preparing a passport photograph should always be checking the instructions provided by the relevant authority. Different countries and documents can use different specifications, so there is no universal measurement that applies everywhere.
Once the requirement is confirmed, record the exact width and height. This gives you a fixed target for cropping and printing. When the application specifies a passport photo size in inches, use that measurement rather than relying on the size of a standard portrait print.
For digital applications, also look for instructions covering passport photo size in pixels, file type, maximum file size, and image quality.
Passport Photo Size in Inches and Digital Files
It can be confusing to see a physical measurement such as inches alongside a digital measurement such as pixels. The two describe different aspects of the same image.
Inches tell you how large the photograph should be when physically displayed or printed. Pixels tell you how much digital image information exists across its width and height. A photo can therefore have a fixed physical size while having different pixel dimensions depending on its resolution.
Understanding this distinction makes passport photo size in inches much easier to manage when switching between digital editing and physical printing.
What Does Pixel Size Mean?
Pixels are the tiny units that make up a digital image. If an image is described as 600 pixels wide by 600 pixels high, those numbers indicate its digital dimensions rather than its physical size.
The required passport photo size in pixels should come directly from the application instructions when digital submission is involved. Do not assume that increasing the number of pixels automatically makes the photograph compliant.
Image dimensions, file size, compression, and visual quality are separate considerations. A large image can still have an unsuitable composition, while a correctly cropped photograph can lose quality if it is compressed too heavily.
Why Correct Proportions Matter
Passport photographs usually require a specific aspect ratio. Aspect ratio describes the relationship between the width and height of an image. If that relationship is changed incorrectly, the photograph can appear stretched.
When resizing a passport photograph, lock the aspect ratio whenever possible. Crop first and resize second. This approach helps preserve natural facial proportions while bringing the image into the required dimensions.
Whether you are working toward a passport photo size in inches or a passport photo size in pixels, maintaining the correct proportions is essential.
Tips for Taking a Better Original Photo
Good editing starts with a good photograph. Position yourself in front of an appropriate plain background and use balanced lighting. Avoid harsh shadows, strong backlighting, or bright light that causes facial details to disappear.
Keep your head straight and look directly toward the camera. Follow the expression requirements specified for your application. Clothing and accessories should also follow the relevant rules.
A clear original image gives a passport photo maker more useful information to work with. It also reduces the amount of correction required during cropping and resizing.
Four Details to Check Before Submission
Even when the image looks correct, a final review is worthwhile. Pay attention to these four areas before submitting the file:
- Verify the required passport photo size in inches if a printed photograph is needed.
- Confirm the required passport photo size in pixels for digital submission.
- Check that the face, head position, and background meet the stated requirements.
- Confirm the file format, file size, and overall image quality.
These checks can be completed quickly and may prevent the need to repeat the entire photo process.
Printing the Finished Photograph
Digital preparation does not always guarantee a correct physical print. Printer settings can affect the final dimensions, especially if software automatically scales an image to fit the page.
When printing, check that the photograph is being printed at its intended physical dimensions rather than being enlarged or reduced automatically. Measuring the finished image with a ruler can provide a simple confirmation.
The final passport photo size in inches should match the relevant application requirement. If the print is noticeably larger or smaller, adjust the print settings before producing additional copies.
Using Online Photo Tools
Online passport photo tools can make the process faster by combining cropping, resizing, and formatting features in one interface. Some tools can also provide templates that make it easier to position the subject correctly.
However, convenience should not replace verification. An automated tool may use a general preset that does not apply to your particular application. Always compare the generated image with the current official specifications.
For digital applications, confirm the passport photo size in pixels after exporting. For printed applications, check the passport photo size in inches after printing.
Avoid Over-Editing
Passport photographs are identification images, so excessive editing is generally inappropriate. Heavy filters, artificial skin smoothing, dramatic color changes, or alterations to facial characteristics can make the image unsuitable.
Basic adjustments to exposure or cropping may be useful when allowed, but the finished photograph should remain a realistic representation of your appearance.
The objective is not to create a glamorous portrait. It is to produce a clear, accurately sized identification photograph that follows the applicable requirements.
Conclusion
Getting passport photo dimensions right does not have to be complicated. The key is to understand the difference between physical measurements and digital measurements and to verify the exact requirements before preparing the final image.
Use the required passport photo size in inches when preparing a printed photograph and check passport photo size in pixels for digital applications. Maintain the correct aspect ratio, use suitable lighting, keep the background appropriate, and review the finished image before submission.
Most importantly, do not rely on a generic size simply because it worked for someone else’s passport or visa application. Requirements can vary by country and document type. Checking the official instructions first will always give you the safest and most accurate target for your photograph.